
This blog post chronicles a day at my recent Lighting Workshop held on July 9, 2017, at Woods Canyon Lake, N-E of Payson, AZ.
We began our day at the lakeside campground, in a setting of pine trees and Aspens. The sky was filled with a quilt of patchy clouds, alternating from full sunlight to soft shade.
While I typically begin my workshops demonstrating how to light a portrait in direct sunlight, I began this class with plan B, discussing the pro's and con's of cloud cover as a natural light source, for outdoor portraits. In preparation for understanding the basis of blending light sources, we reviewed standard techniques for measuring the ambient light and calibrating the output of an electronic flash, by the use of guide numbers.
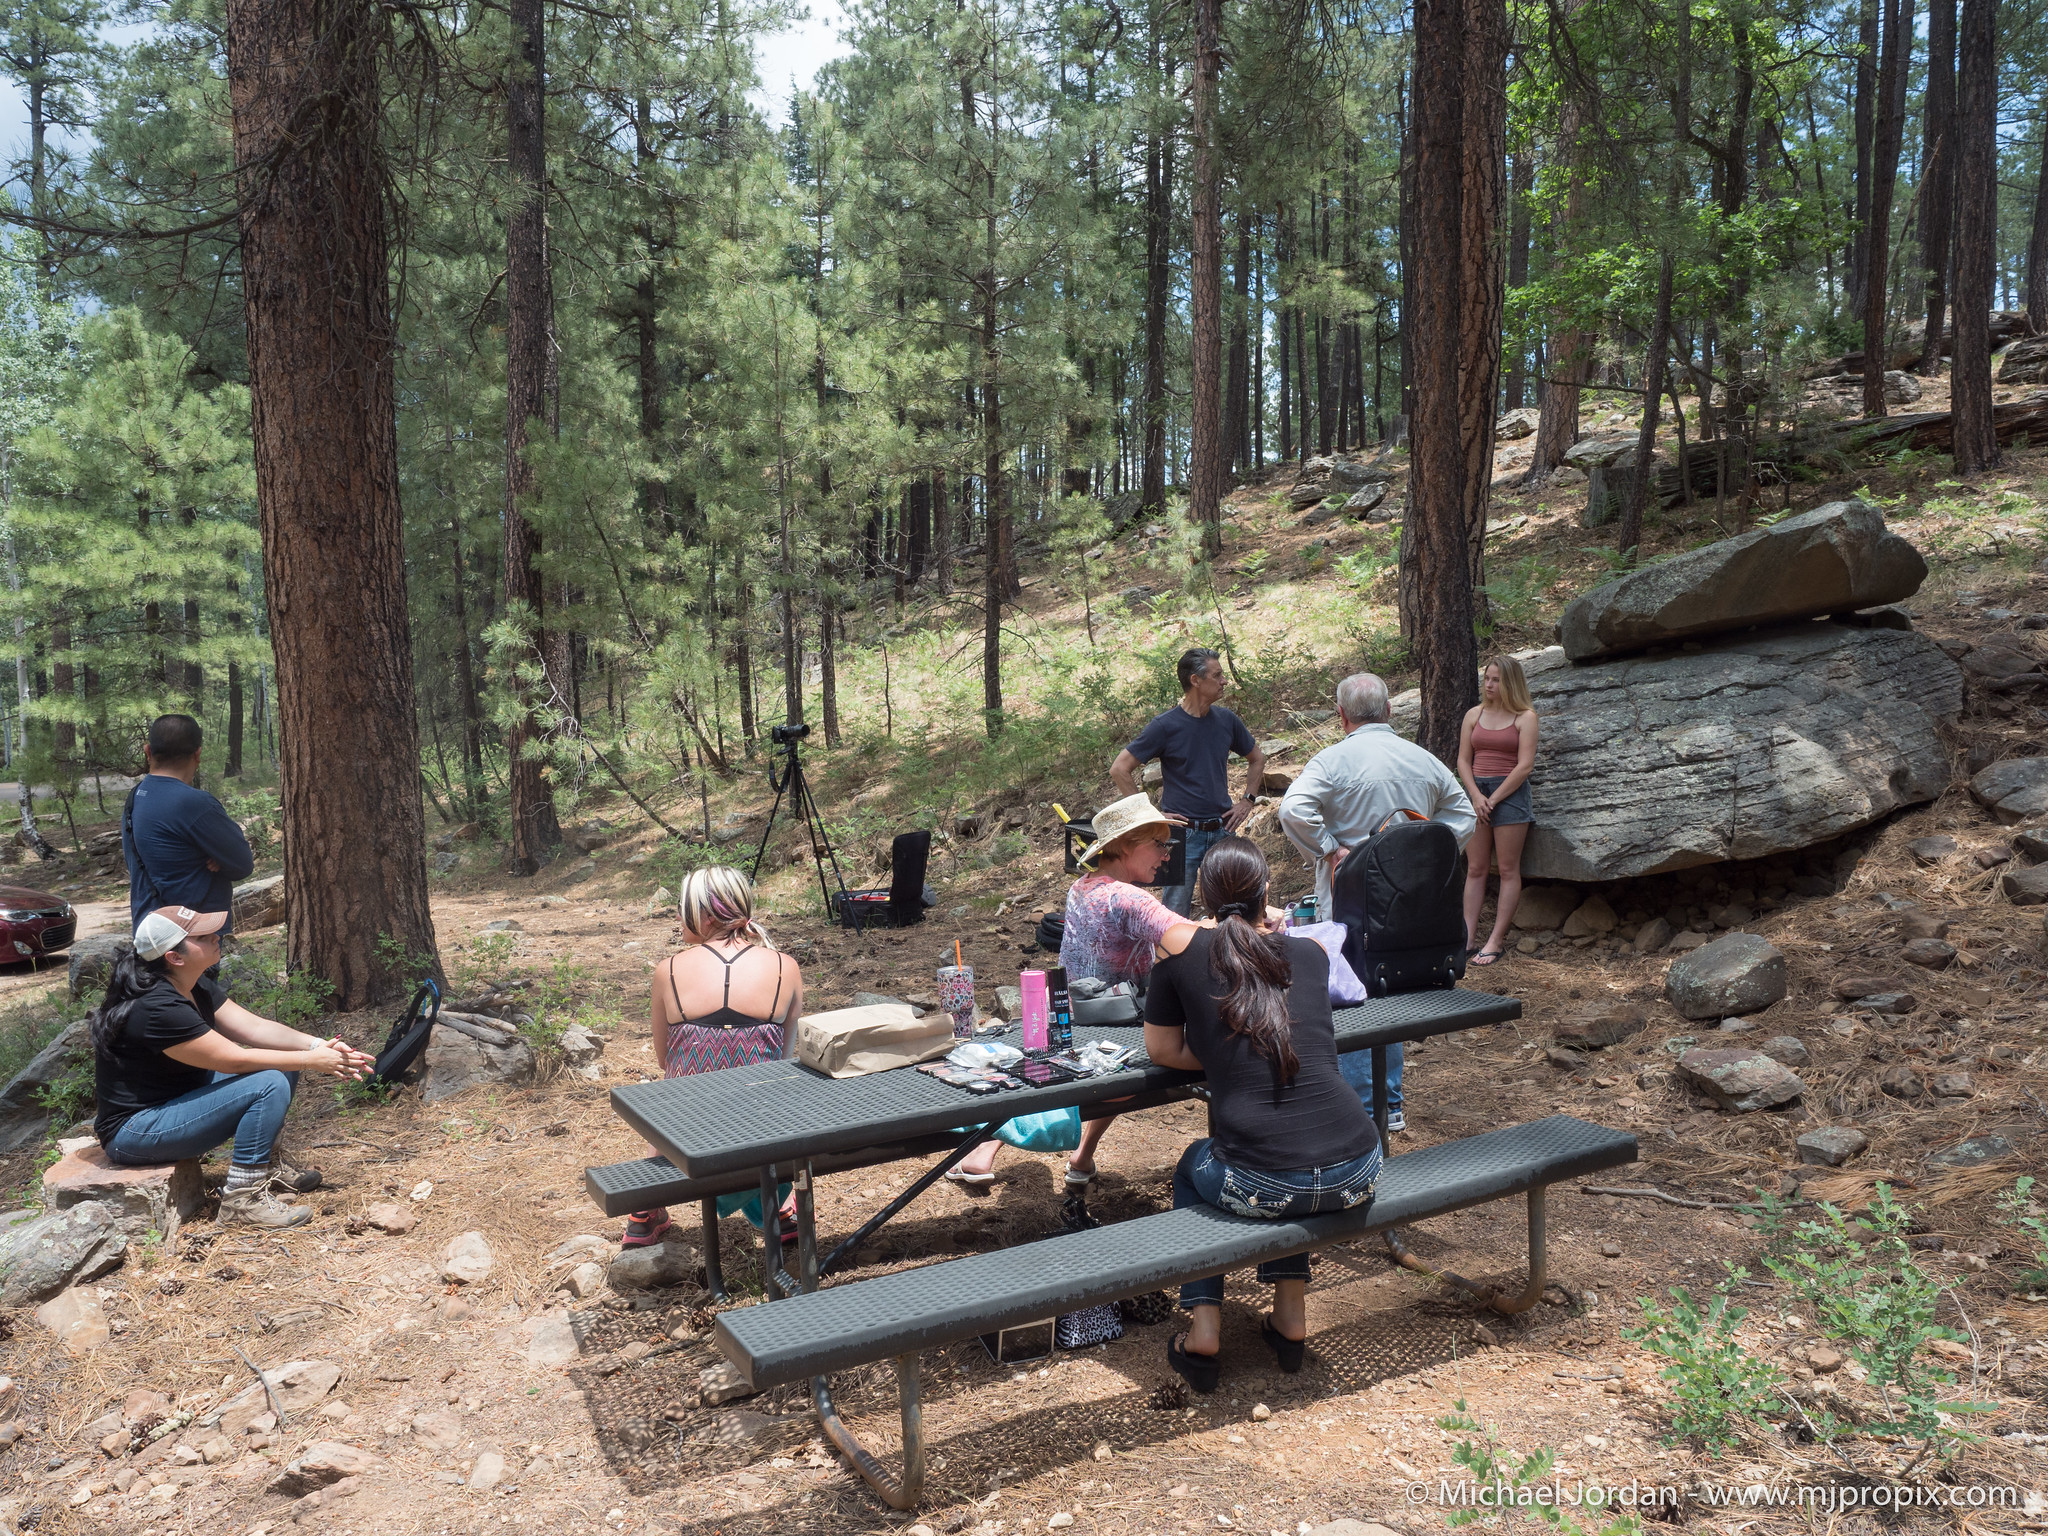
Note: several of the pull-back photos are here by the courtesy of one of the lighting students, Michael Jordan.
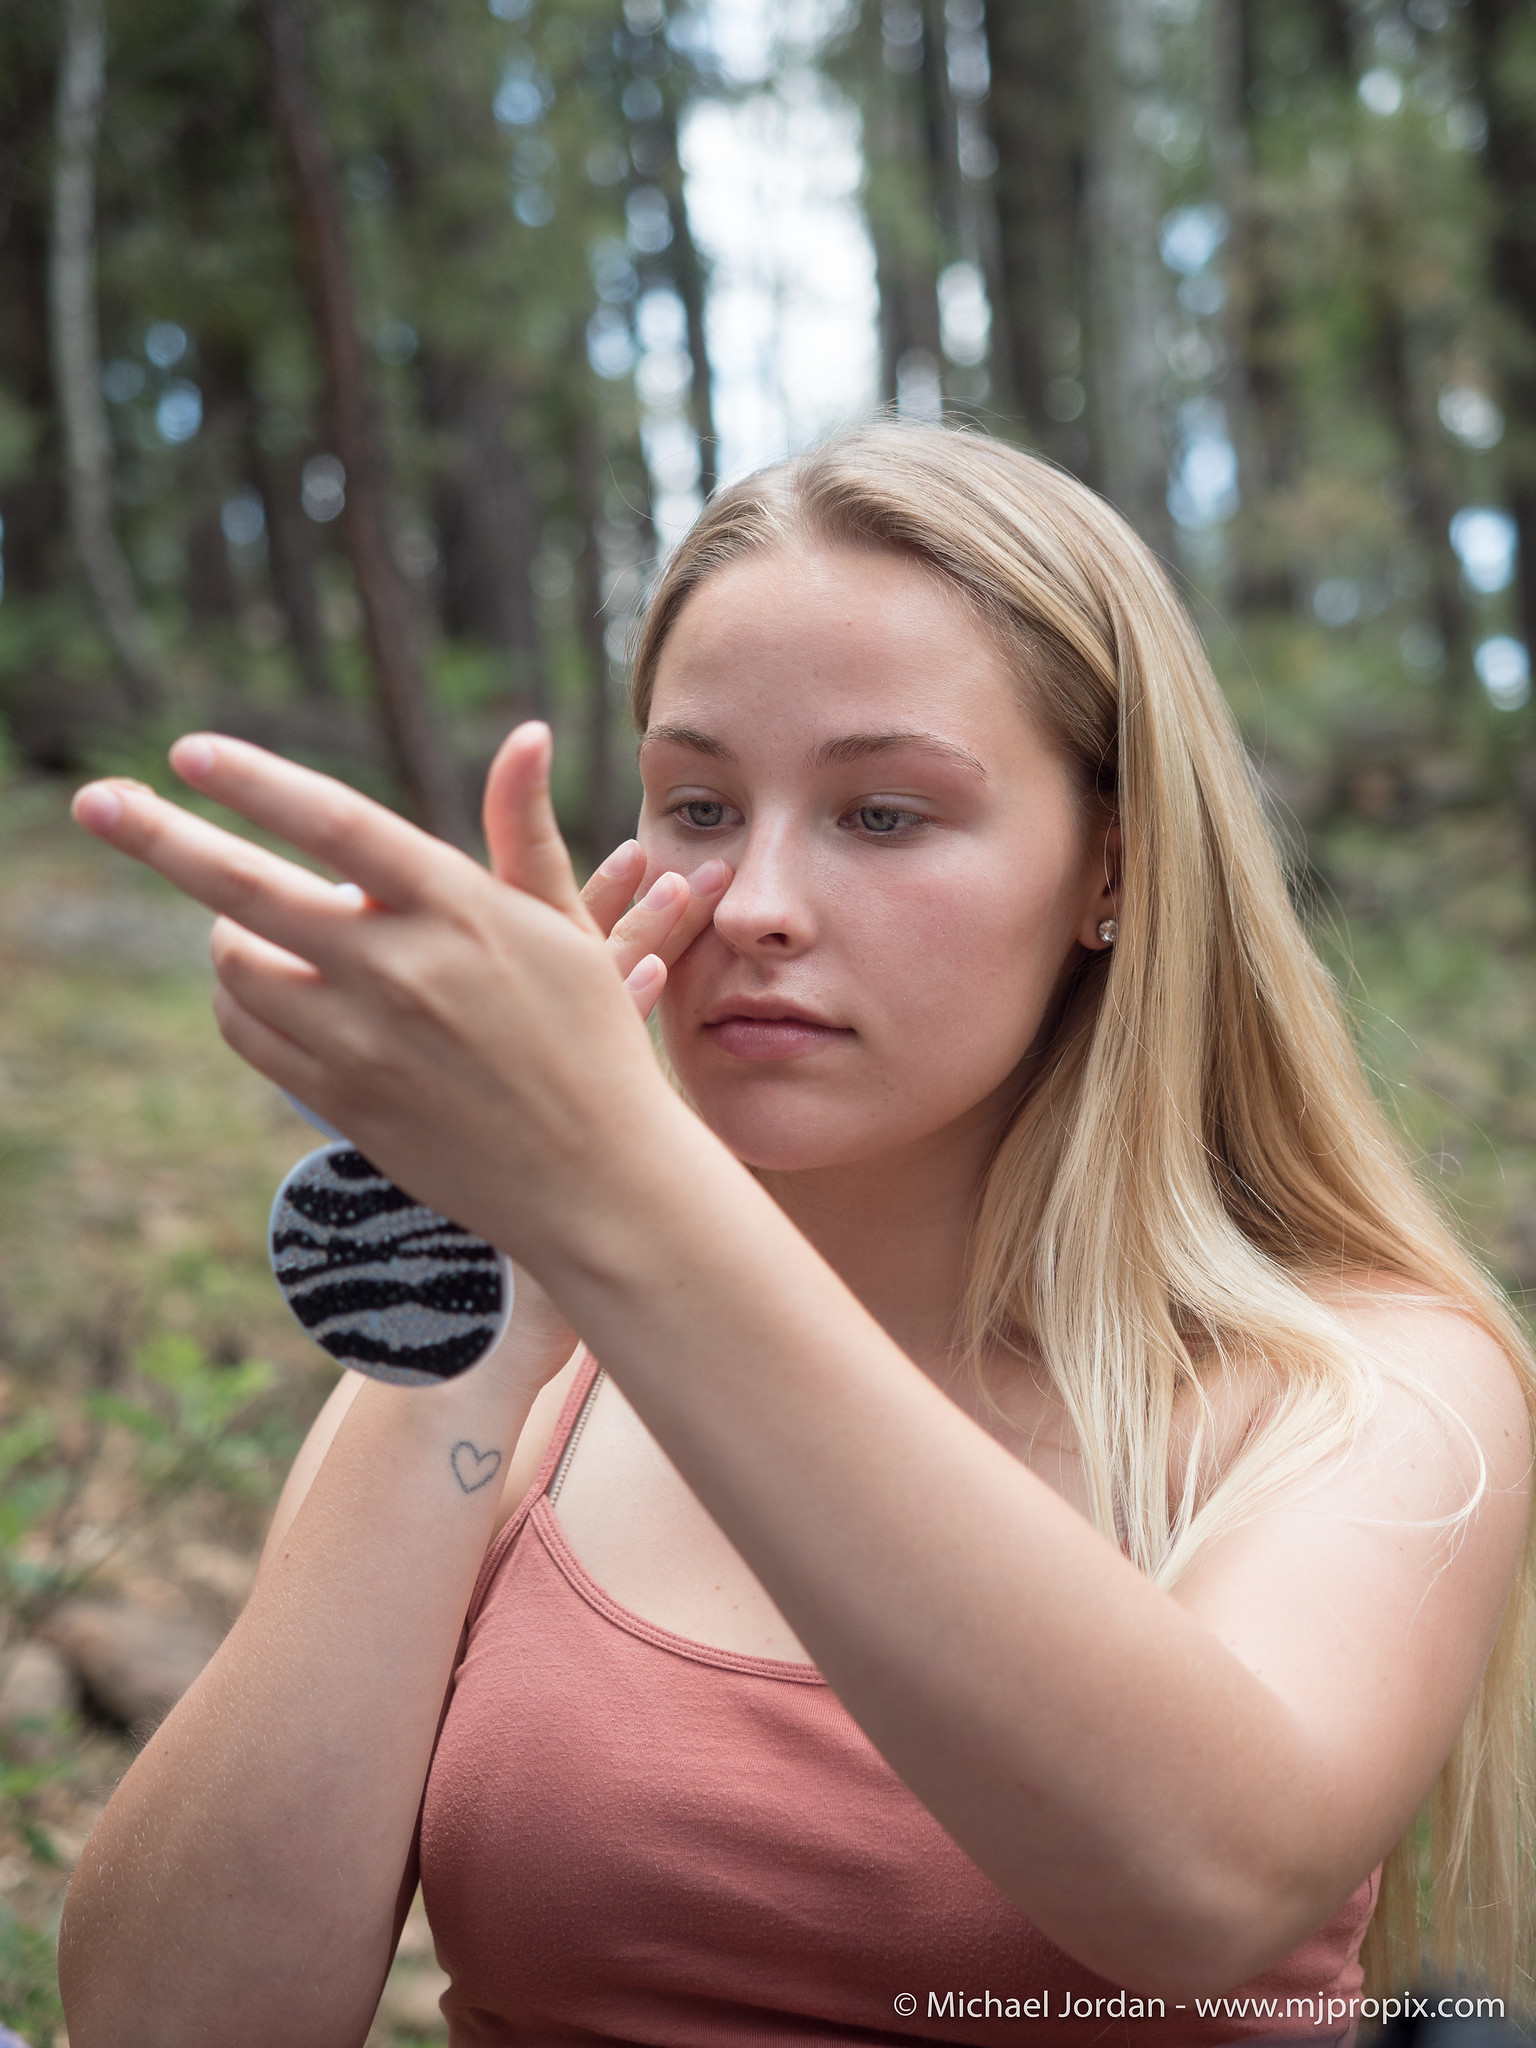
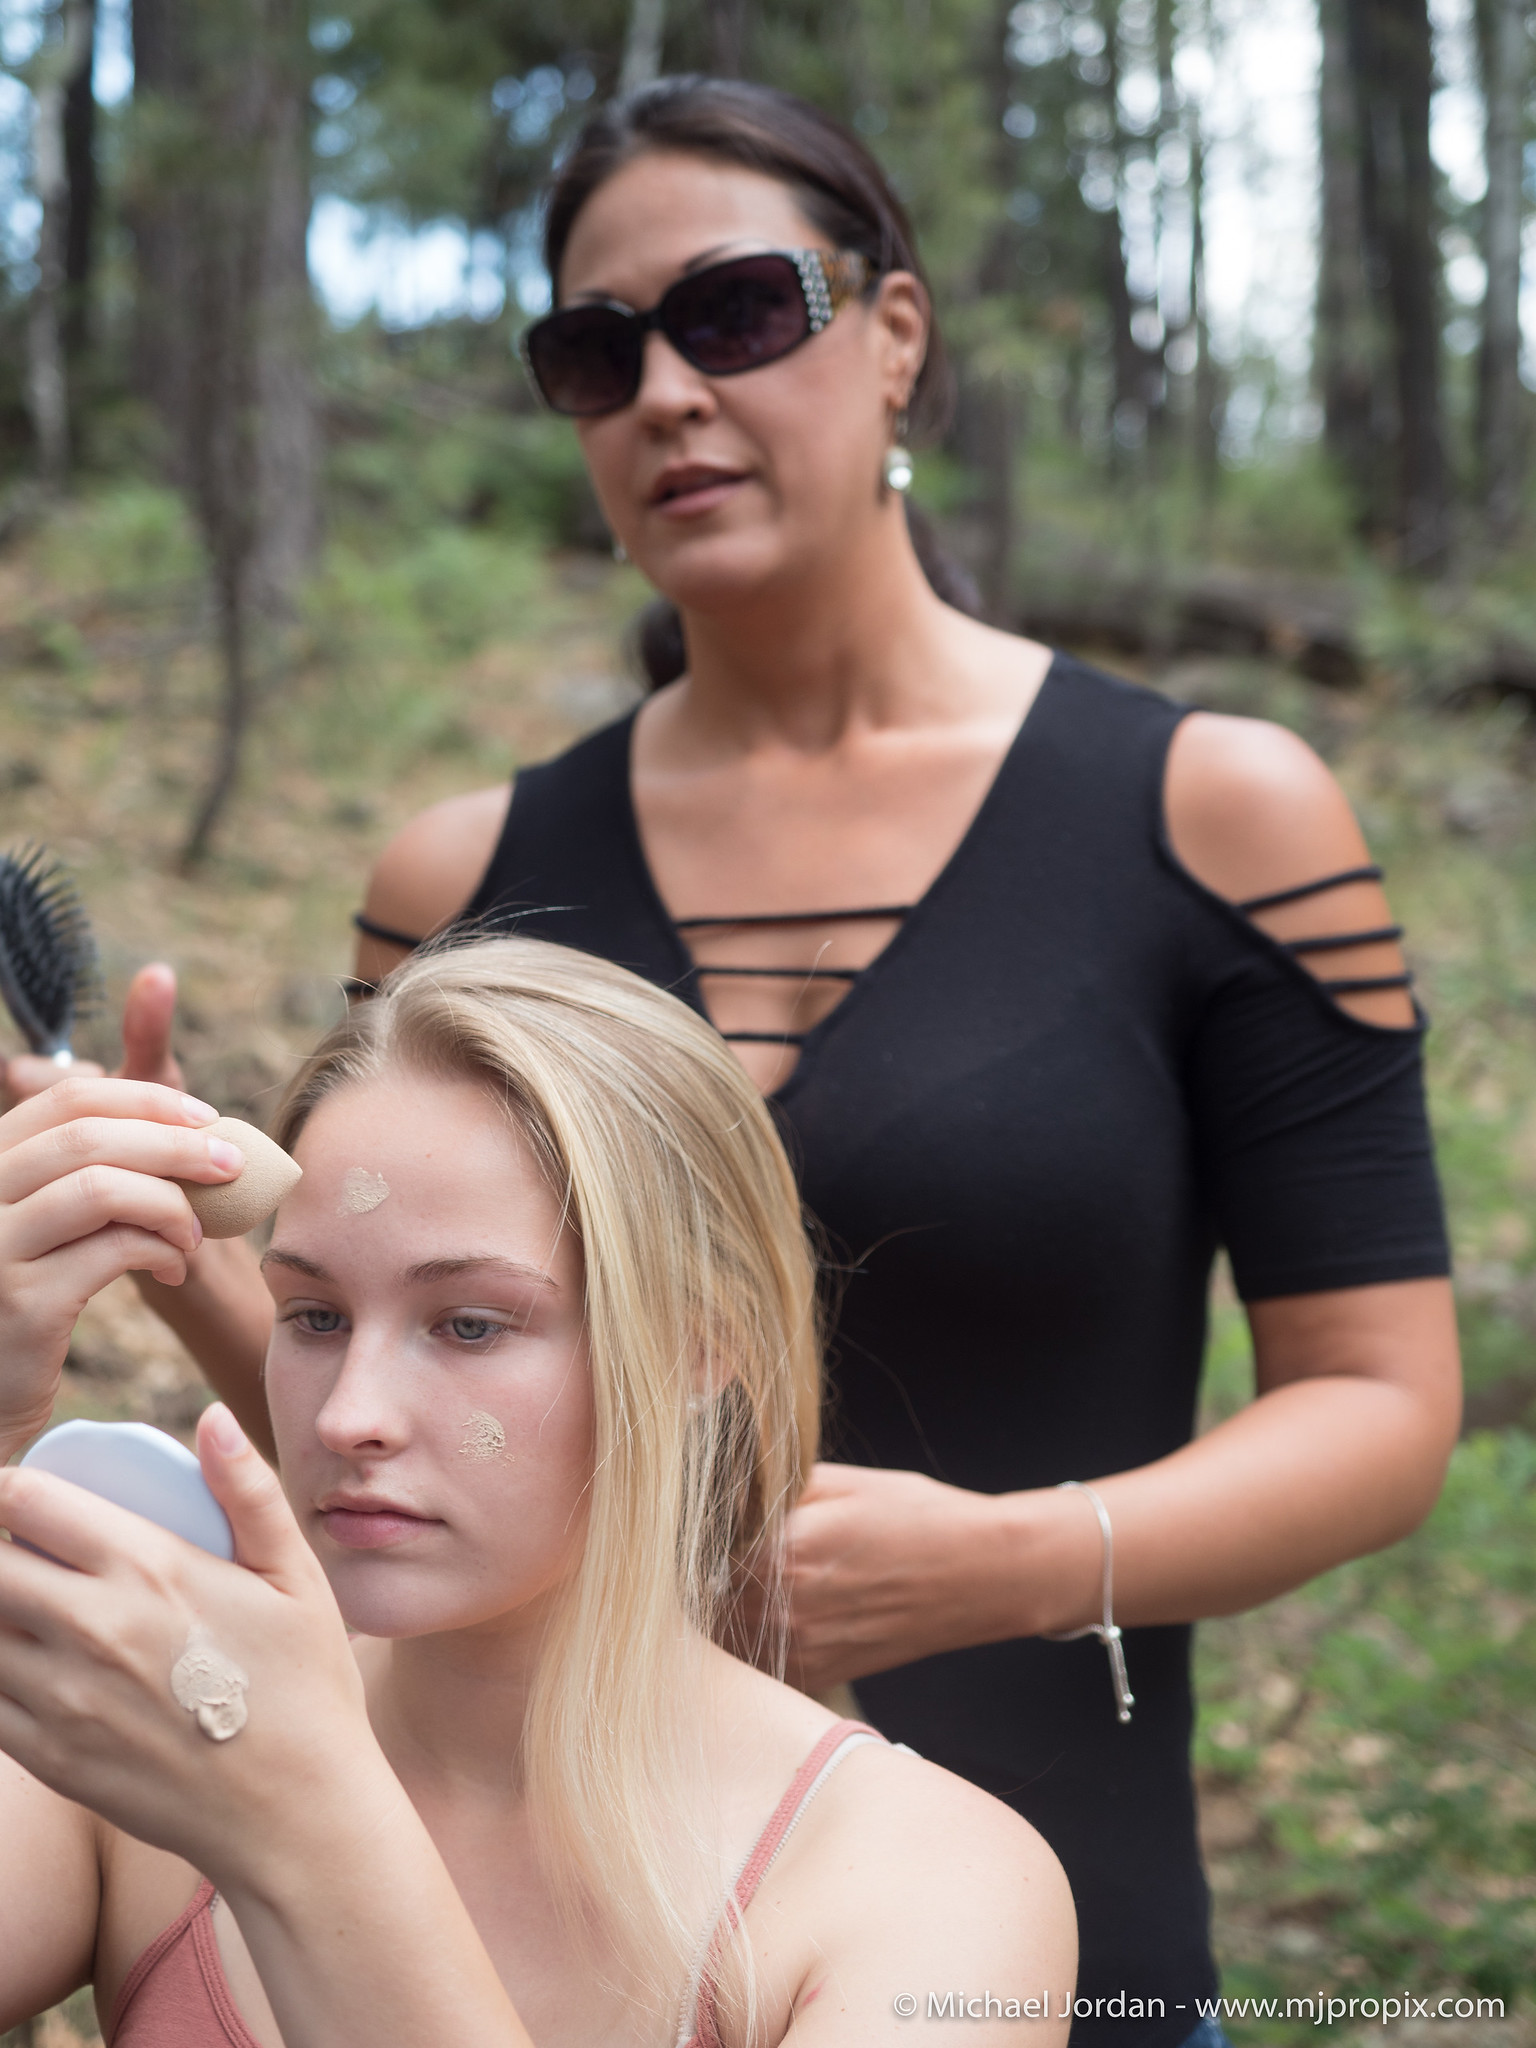
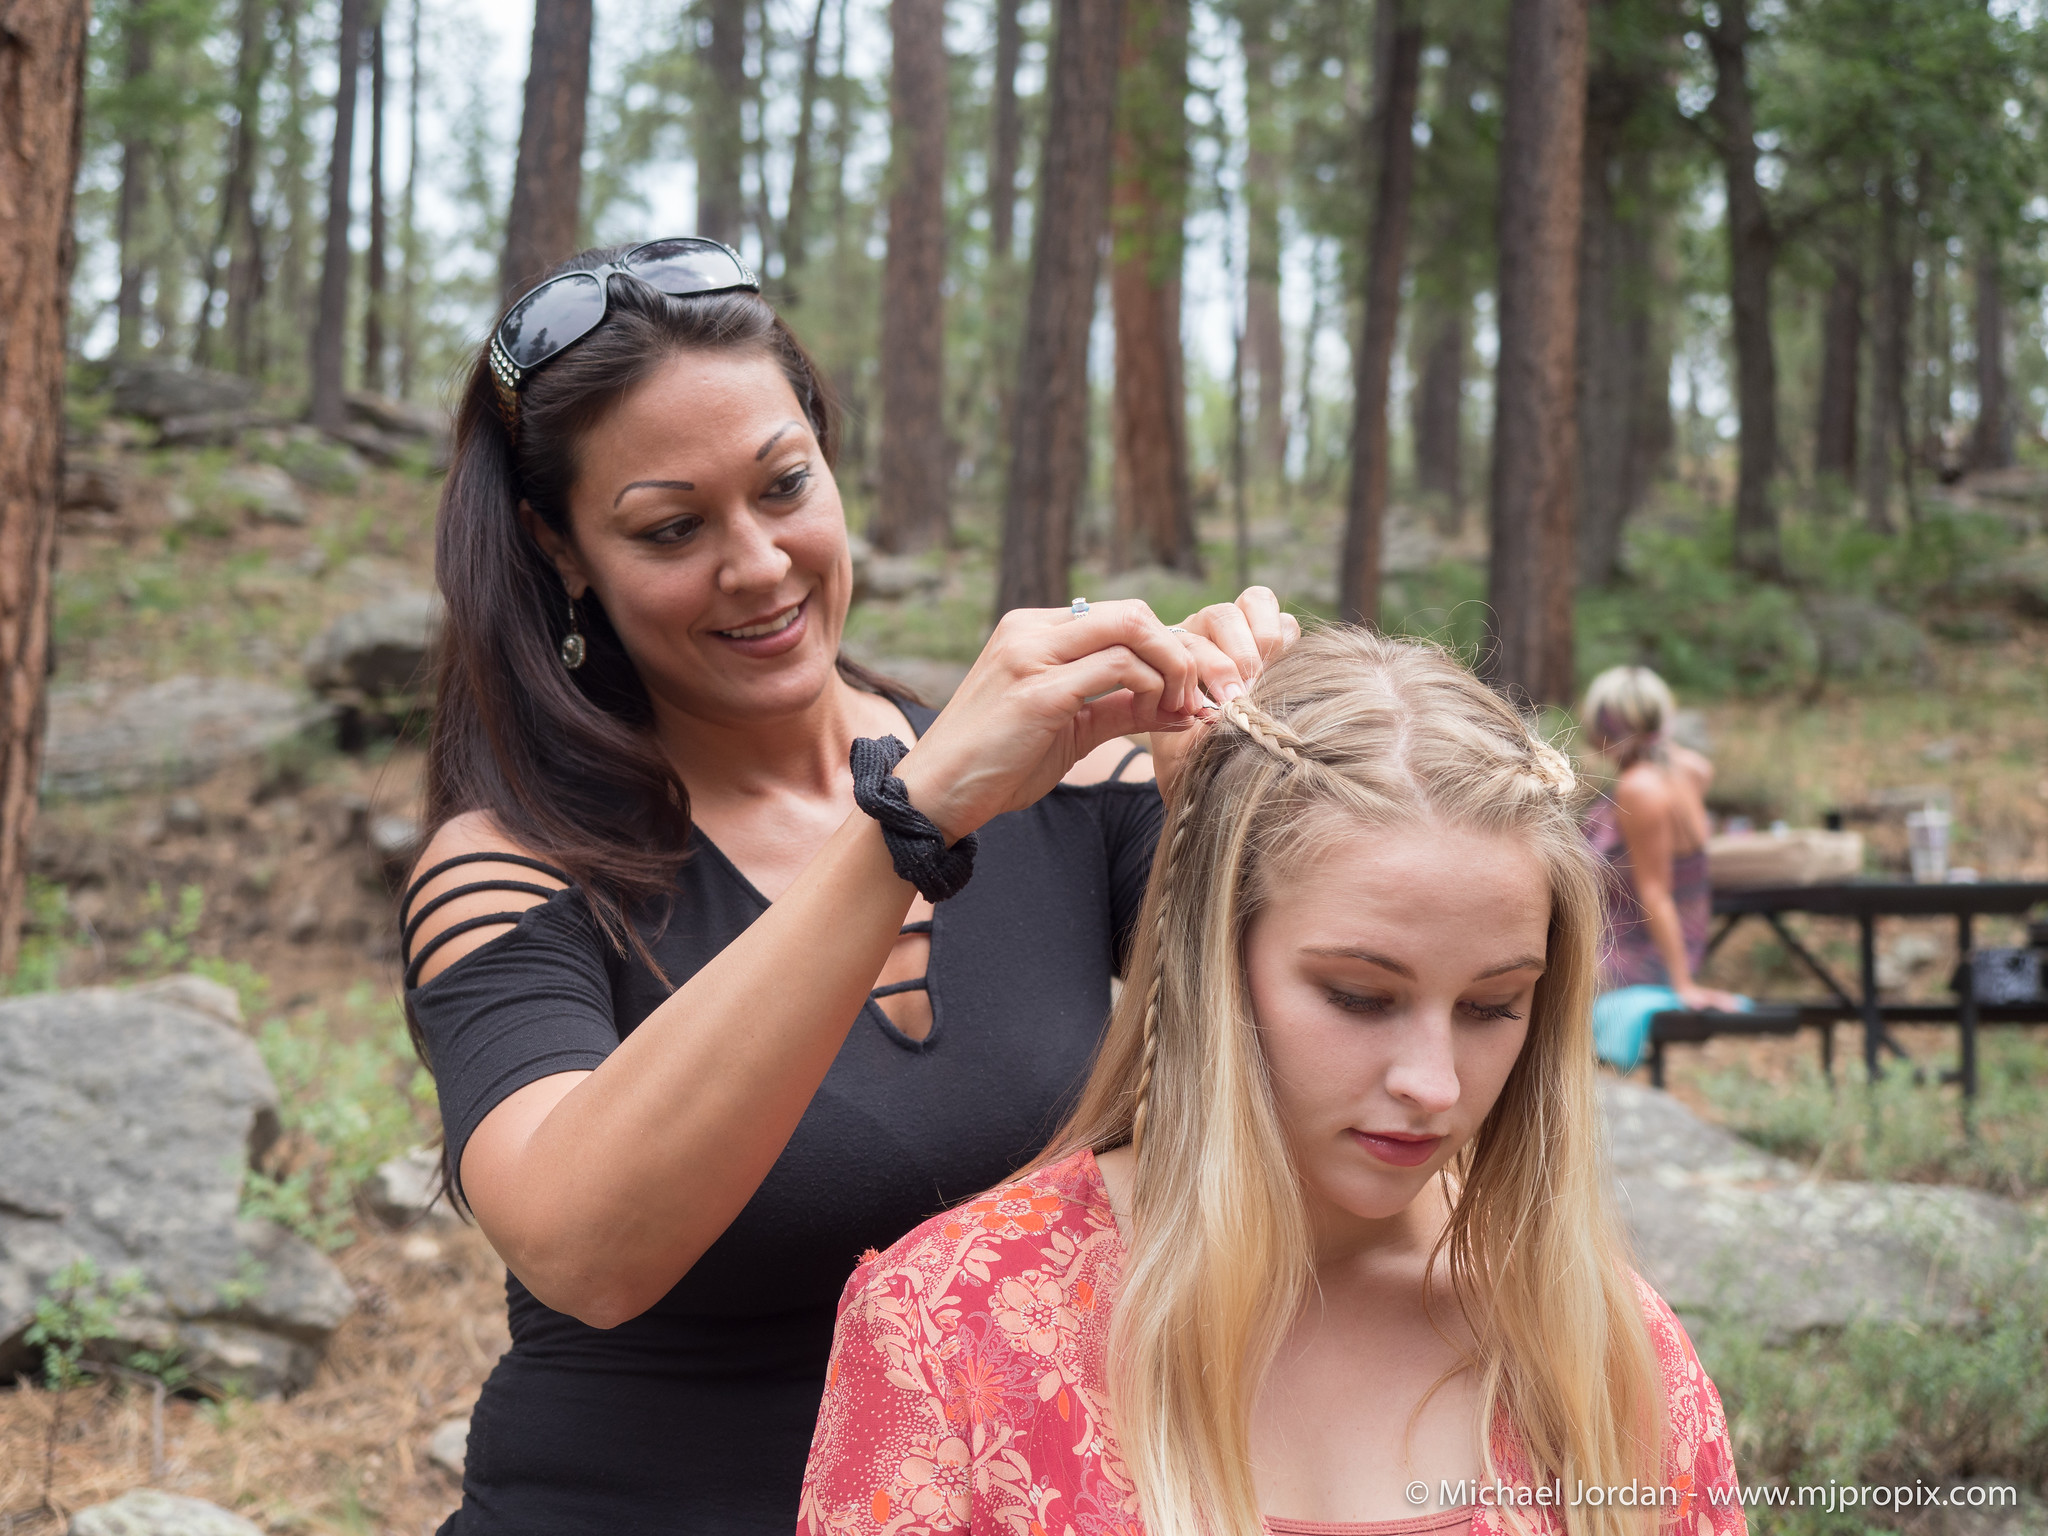
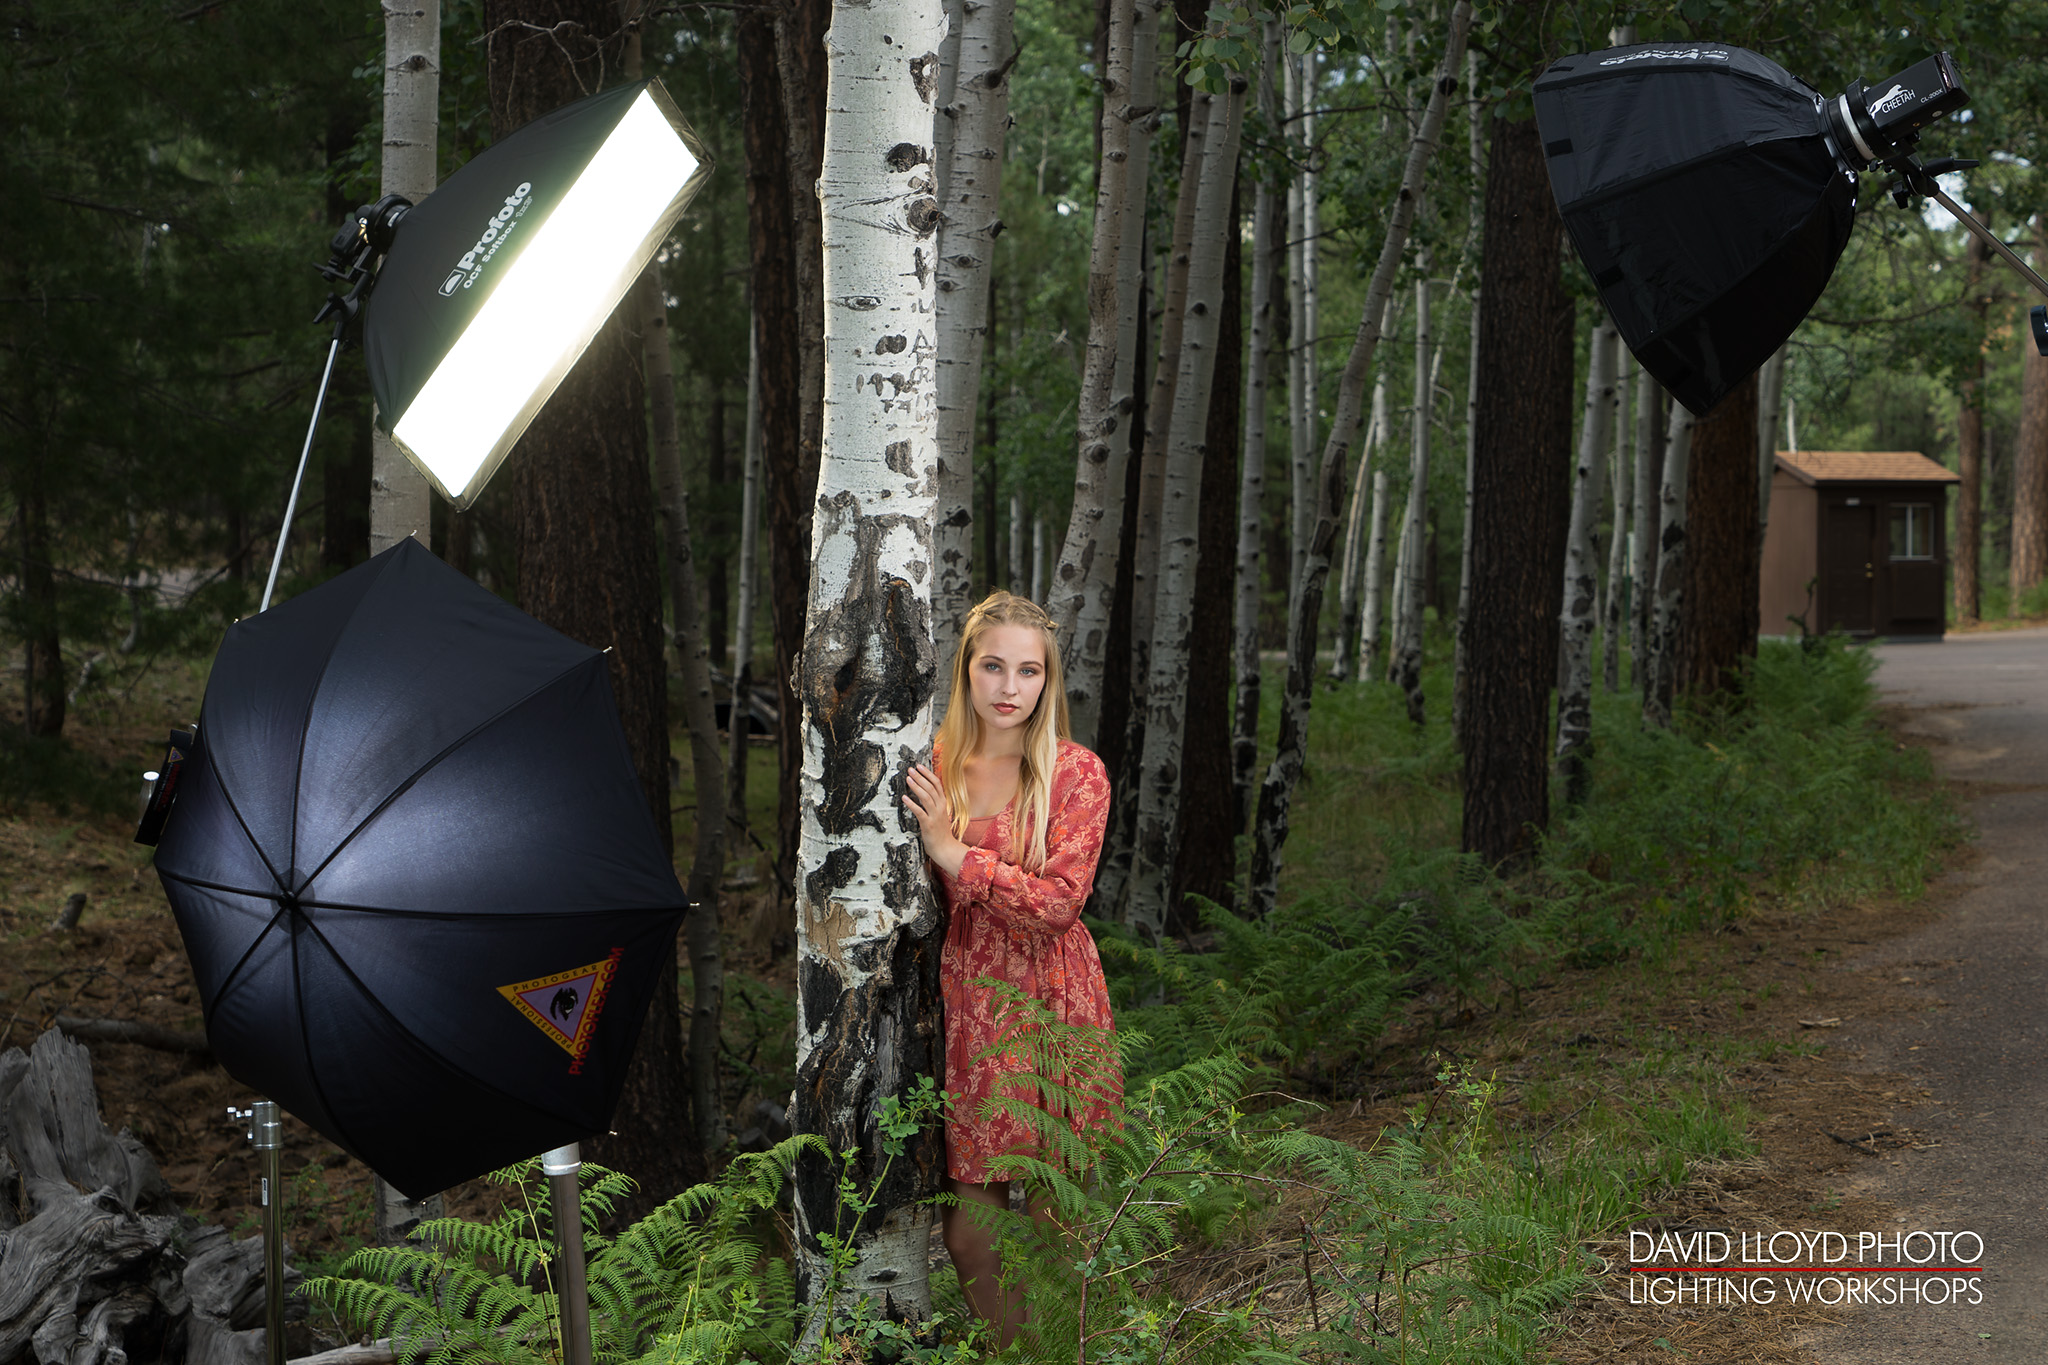
As we unloaded our gear, my daughter Kat Divine prepared our first model, Lauren Berggren for the day's theme, "A Model in the Woods." As you will see in the resulting photos, Lauren is transformed into a Guinevere look-alike from the woods of Camelot.

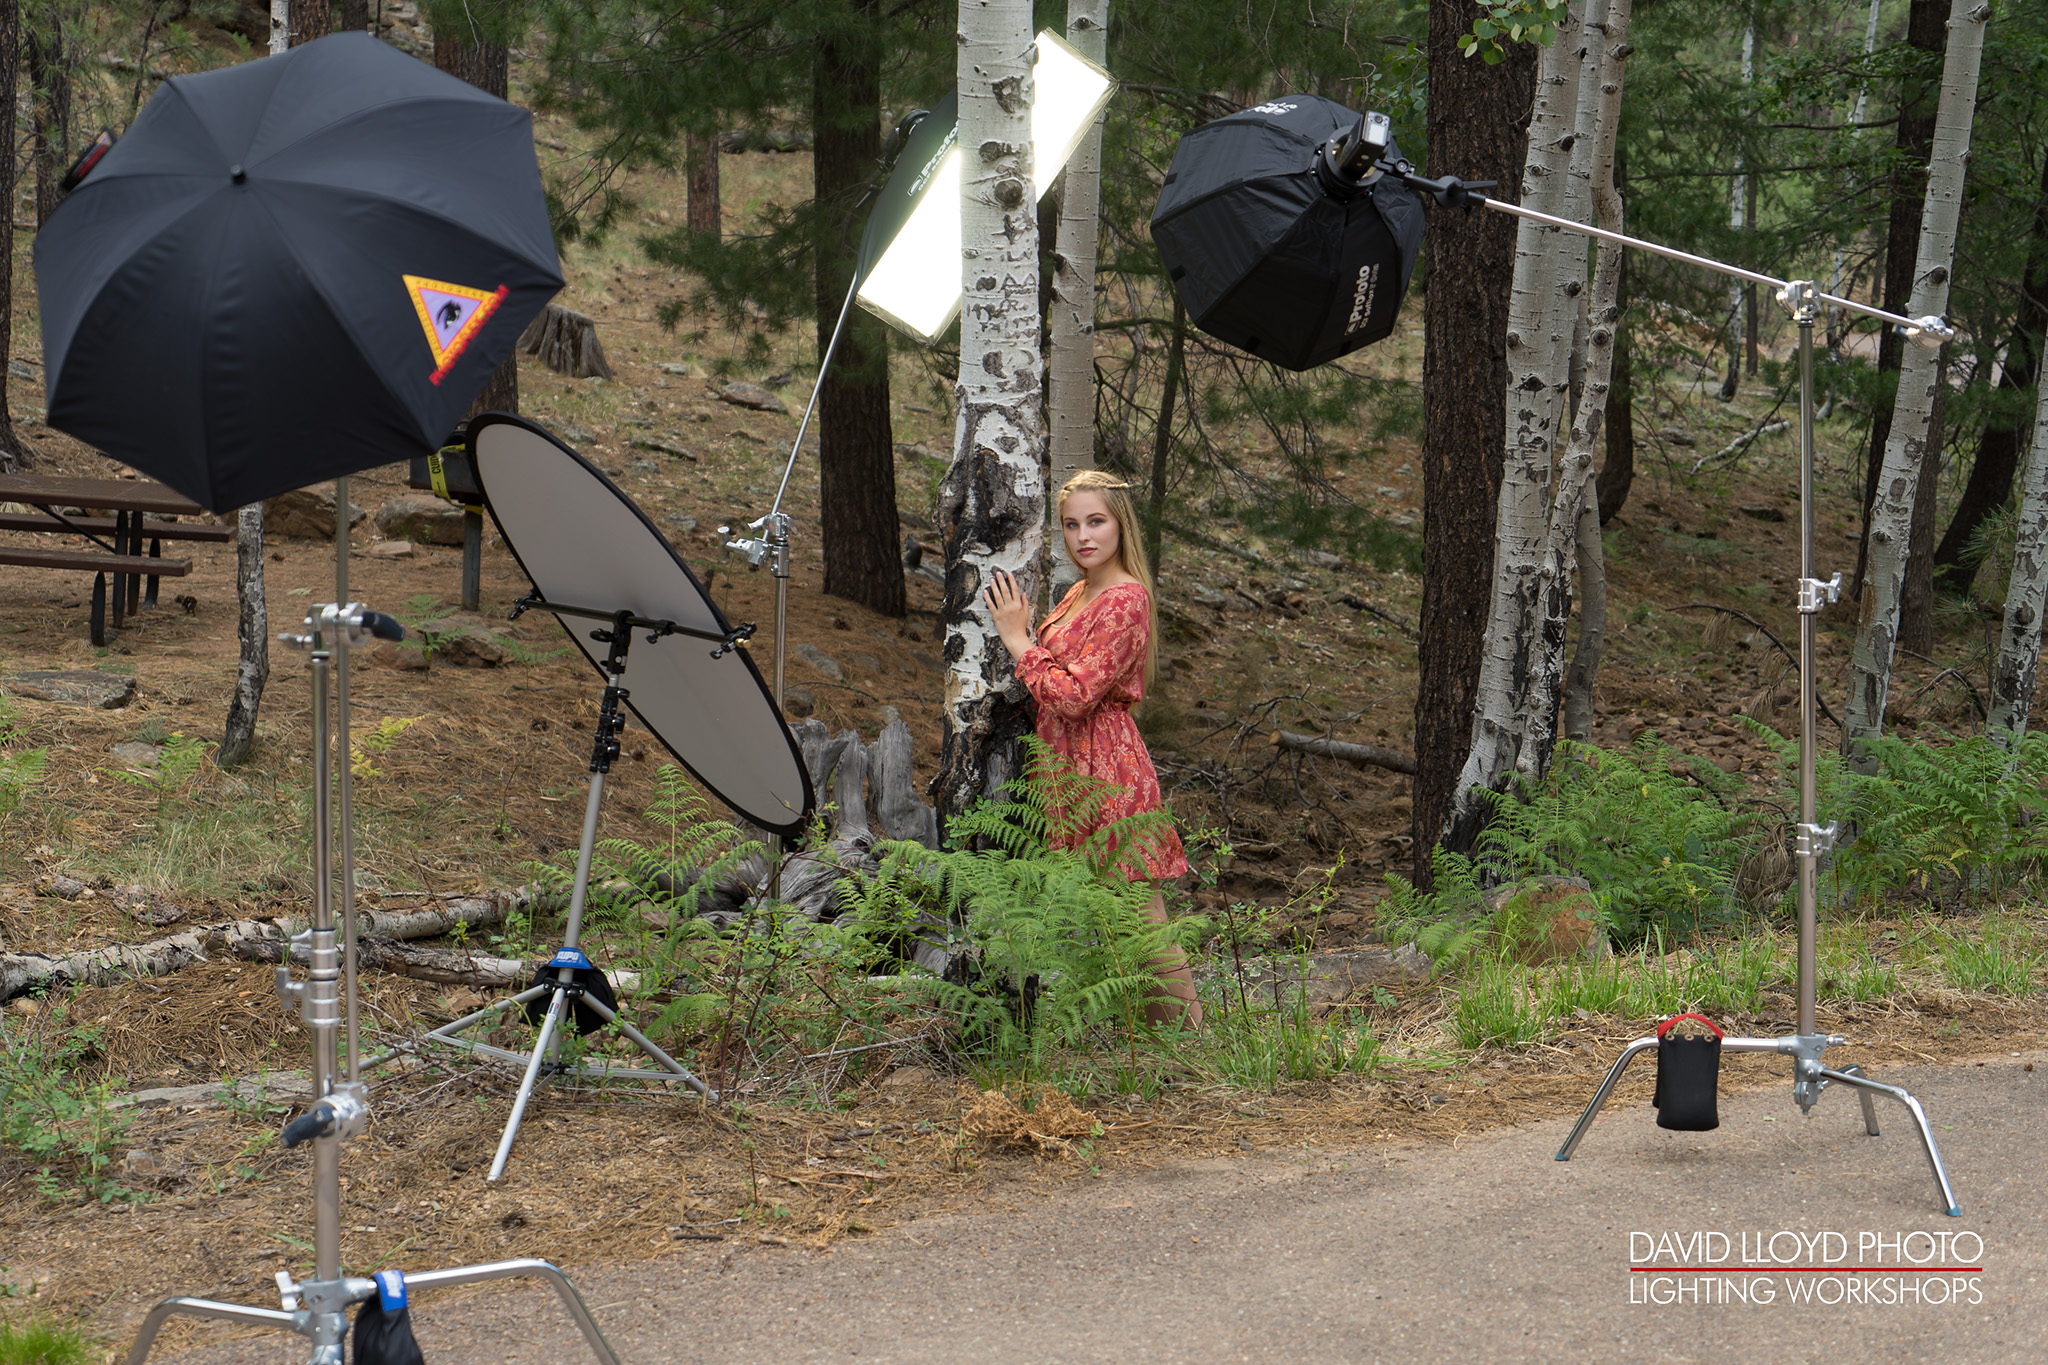
To set the photographic stage for our "Cinematic Portrait", I selected a group of nearby Aspens that would provide visual interest to the photographs, as well as provide open shade and a relatively dark area behind us in the direction that our model would be looking.
Note: Having a dark area for the subject to look into ensures that their eyes are naturally open and not squinting. This is very important to keep in mind for outdoor portraits to ensure a natural look.


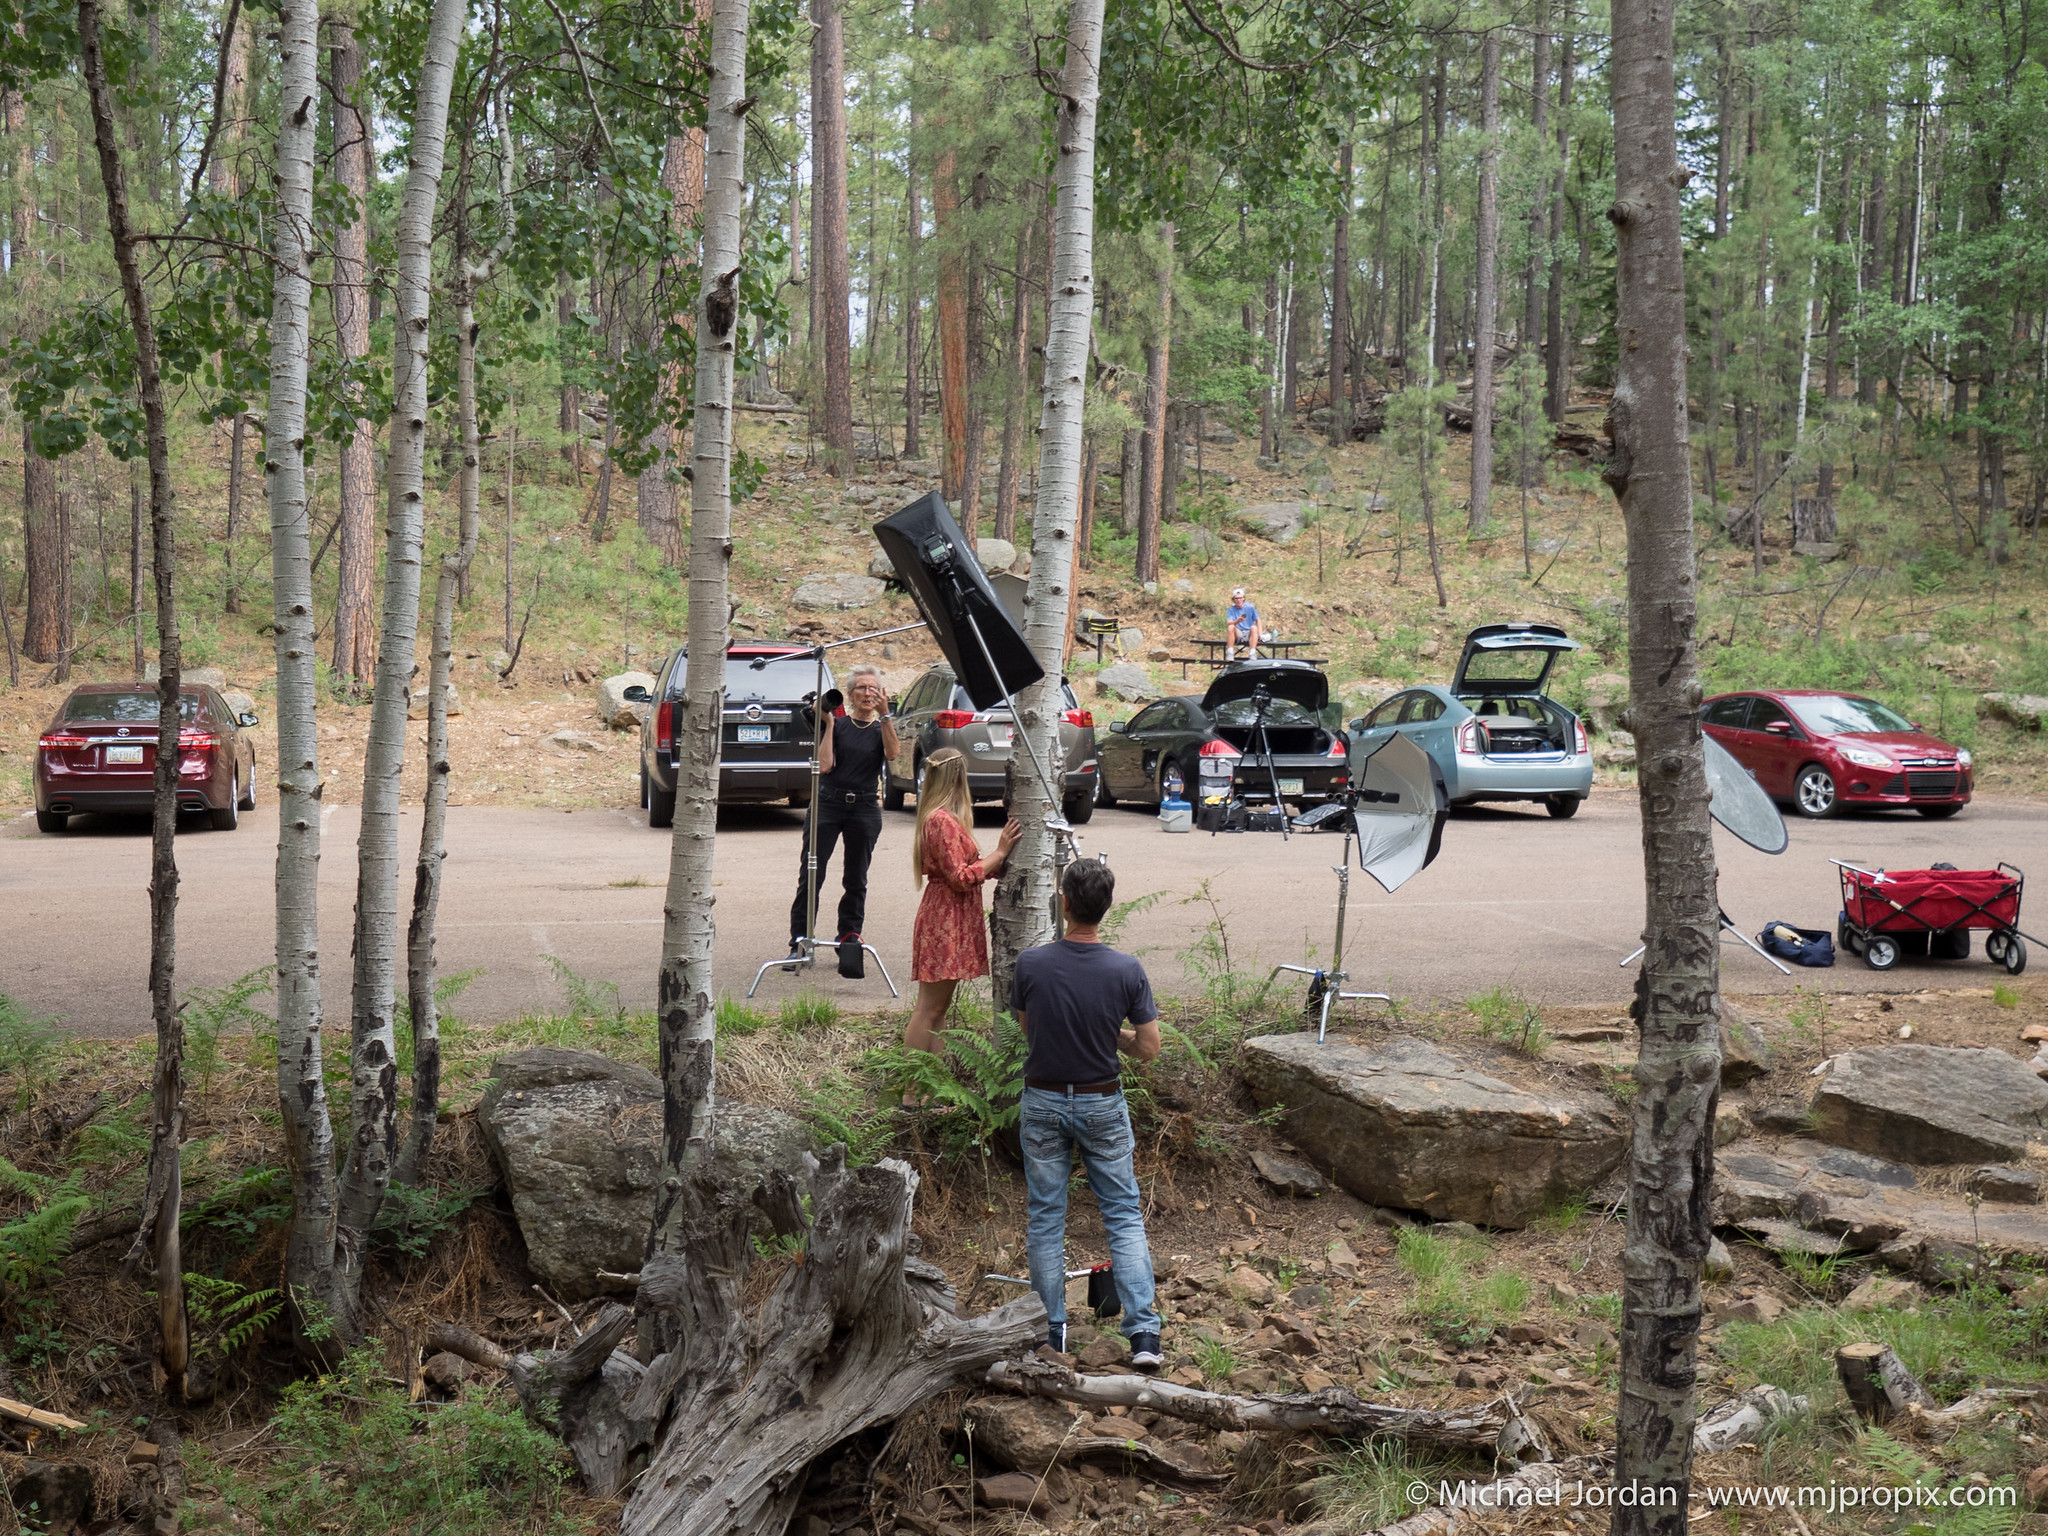

Once a suitable backdrop had been selected, with the help of my assistant, Elise Pitterle, we assembled the needed lighting gear to create our "Cinematic Portrait". (see photos above)
For a better perspective of the lighting, I have provided the Lighting Diagrams below. They show the relative positions, distances, light modifiers and power settings used to create the theme photographs. "A Model in the Woods, as a Cinematic Portrait."


With the lights in place, it was time to explore the process of creating our cinematic portrait. The sky being filled with a blanket of clouds produces what might be considered to be a perfect setting for soft light, the sky becoming a giant soft box. However, as it will be seen in the photos below, the direction of light from an overcast day produces dark shadows in the eyes and lacks the desired luster and sparkle of a properly illuminated portrait.
Examples: available light portraits below, courtesy of Michael Jordan, workshop student.

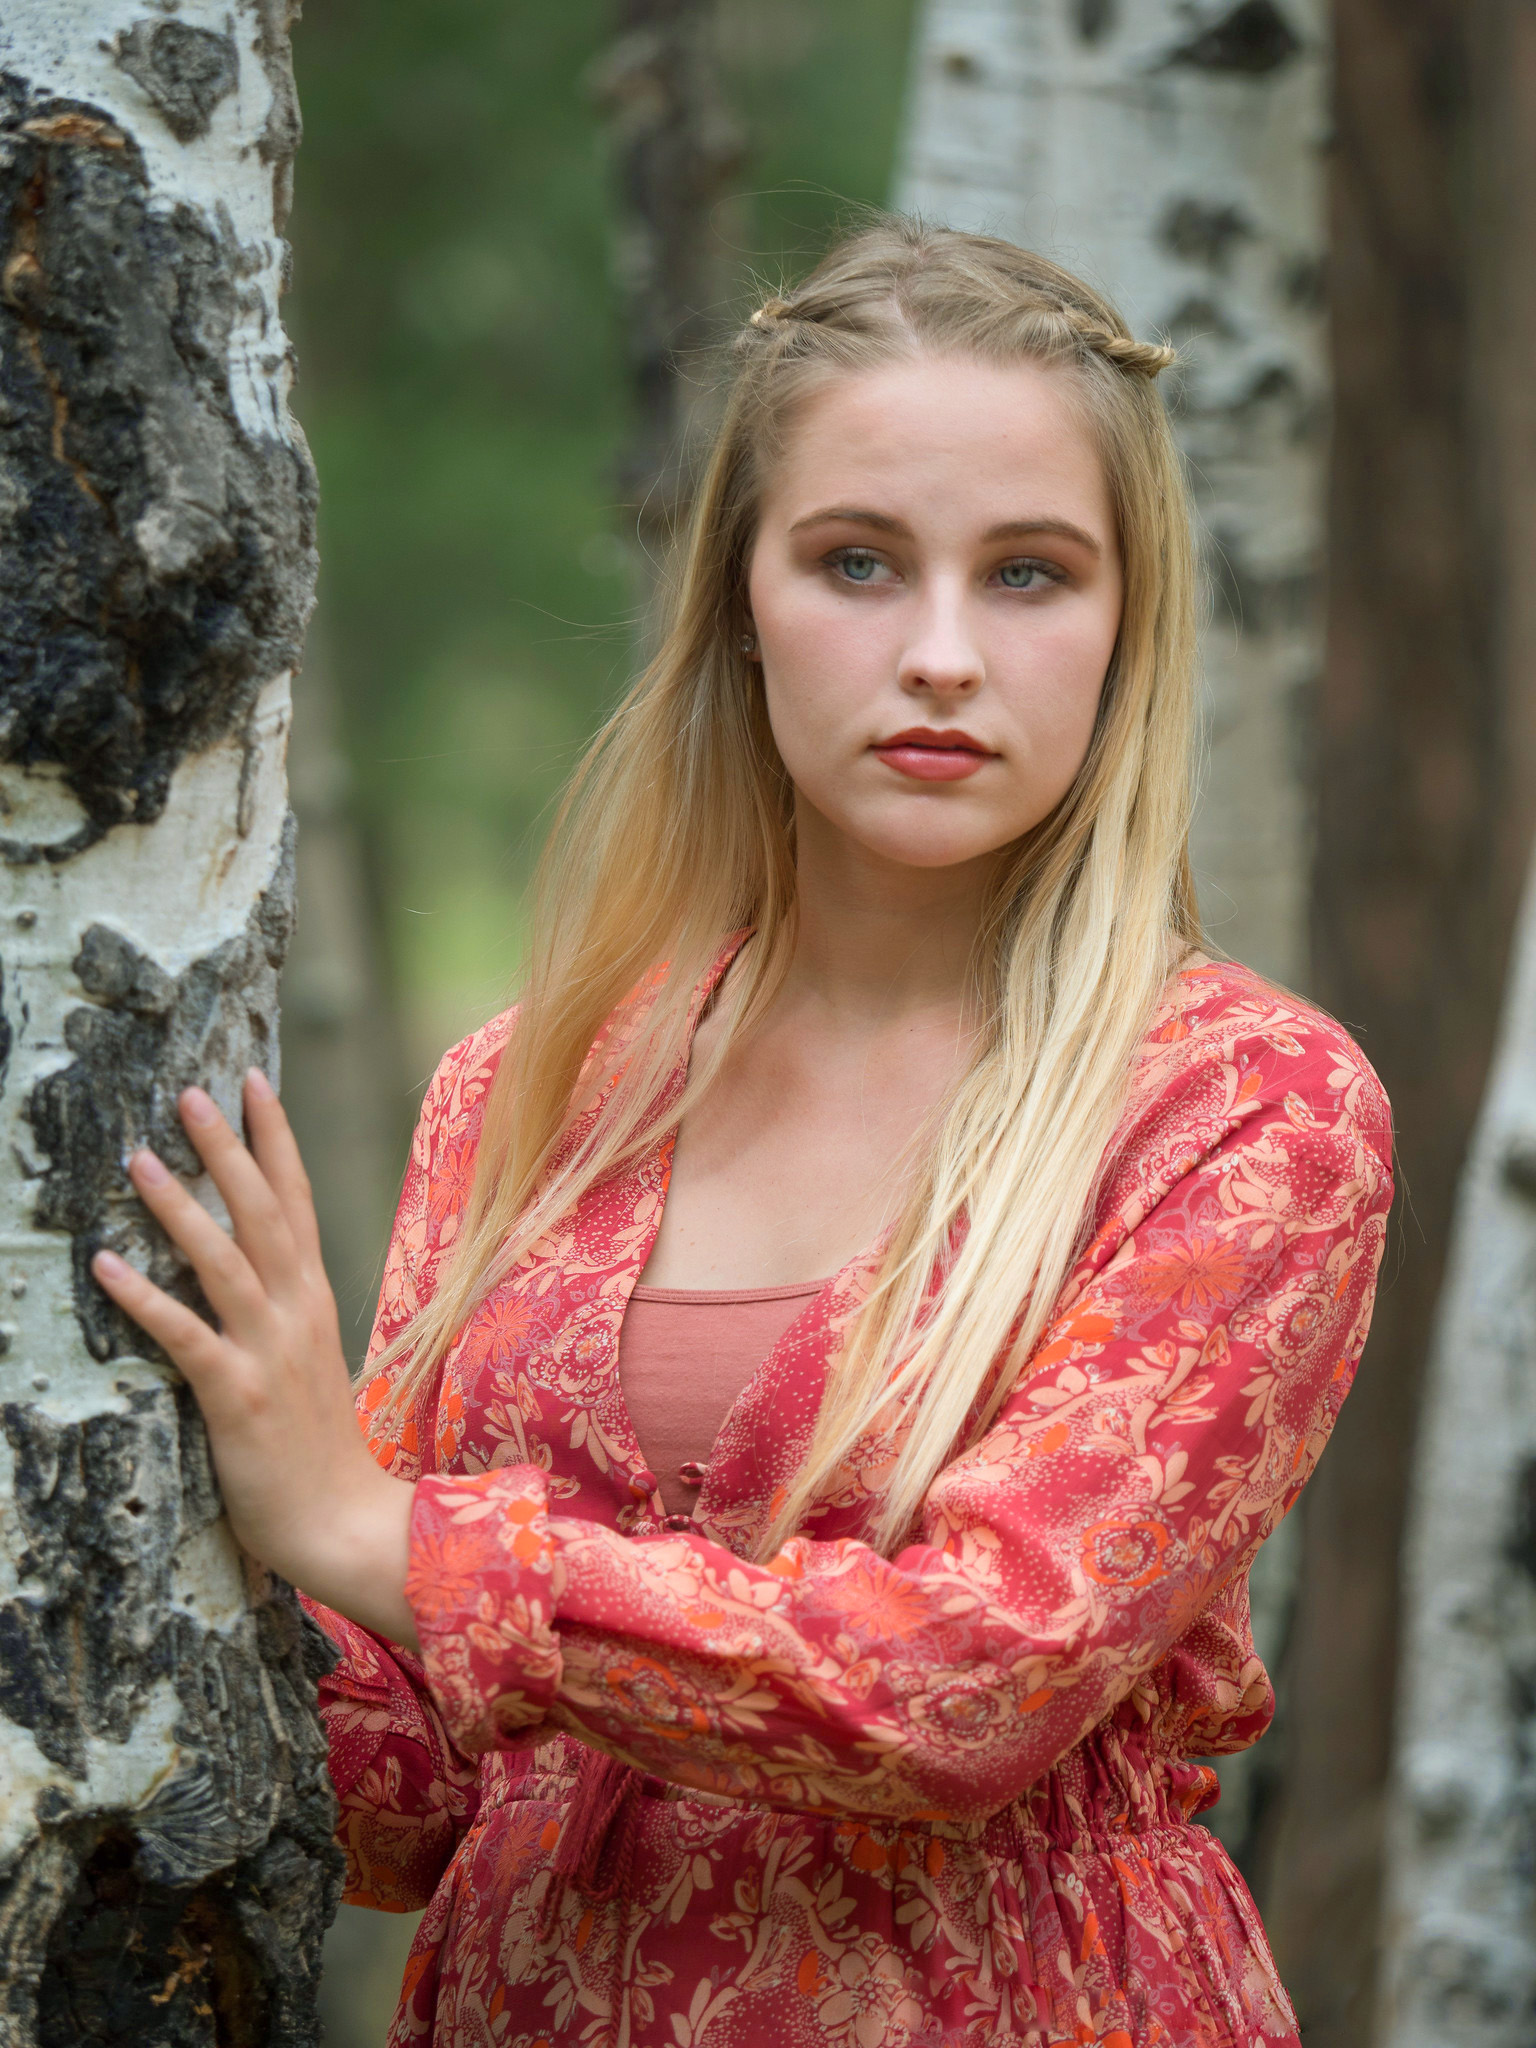

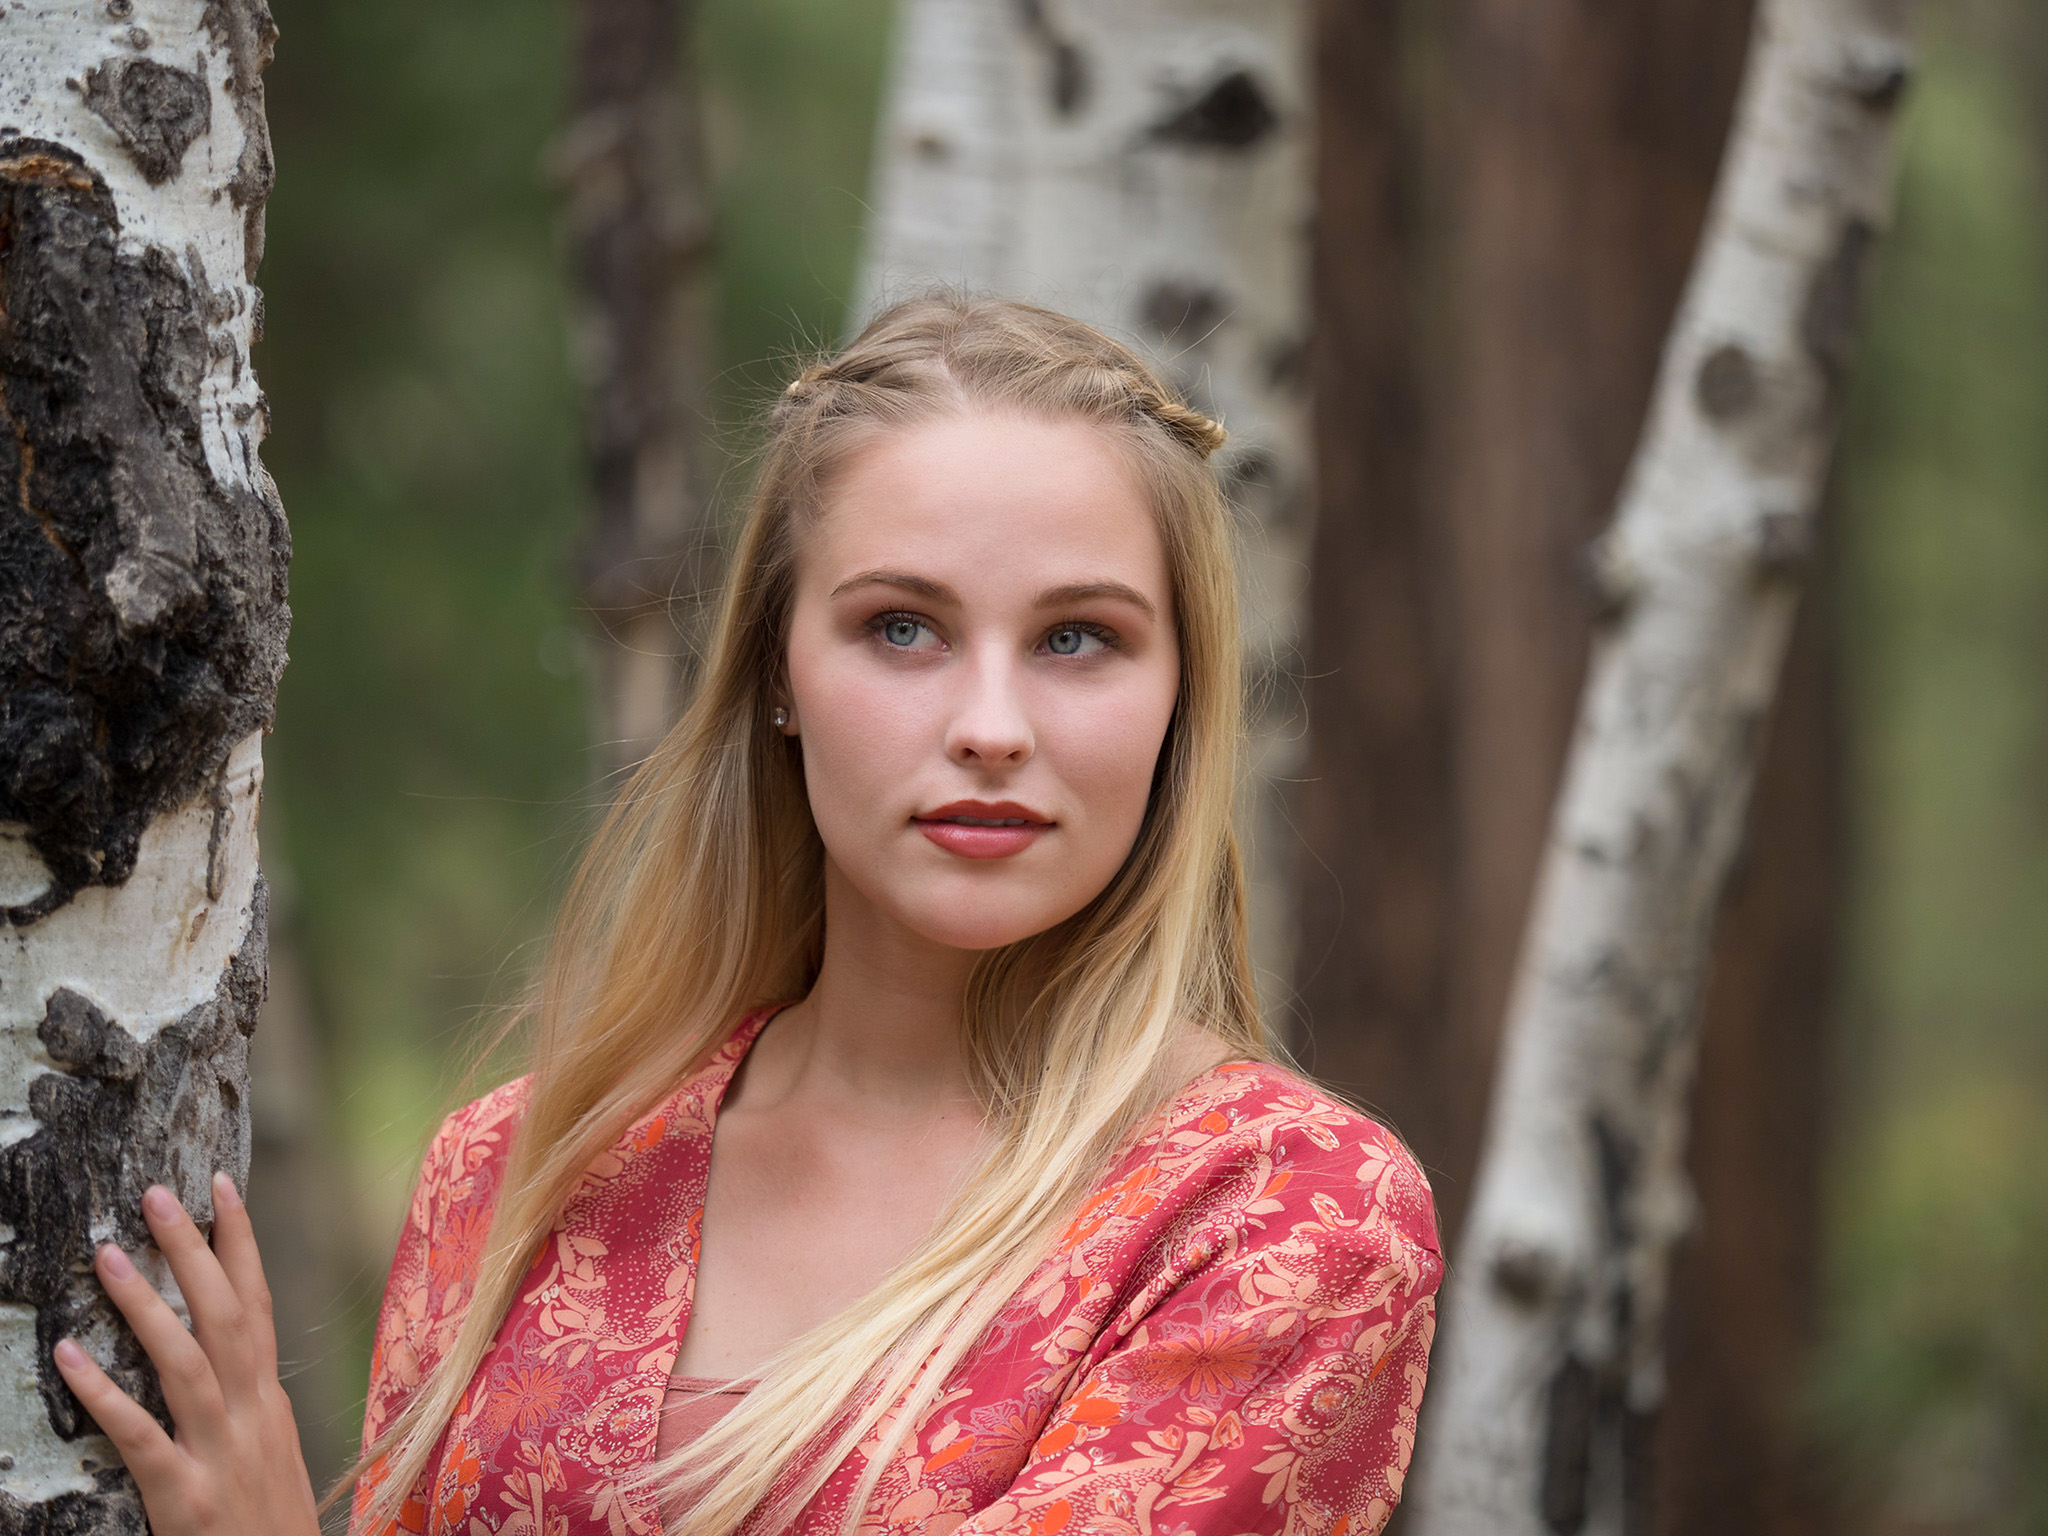
To add luster and brighten the eyes of our subject, our beautiful model Lauren Berggren, the next step was to add a silver reflector, for the purpose of bringing light back into the eyes. In this instance, with the light from the overcast sky, the reflector is held under the model's face, also adding light to the shadows created by the main light source, in this case, the overcast sky.
My assistant Elise, holding a silver reflector to add light into our lovely model's eyes


As seen in the photos above, while a reflector can add light into the eyes, it can also diminish the contouring of light across the subject's face and begin to visually imply that the primary light source is from below, instead of from above the subject. Light from below creates an unnatural look. Therefore using a reflector becomes a delicate balance of careful positioning.
With the reflector correctly applied, the next step in exploring the ingredients for a cinematic portrait, was to add the dimension of a back or hair light.
As the trio of lights had already been set, it was an easy matter to turn on the the hair light, which had been fitted with a 1/2 CTO gel, to simulate filtered sunlight from behind our subject. (see photo below)
Camera settings: ISO 100, 135mm f-1.8 lens at f-2.8, shutter 1/320th second
At this point, our Cinematic Portrait is beginning to take shape.
The shallow depth of field, produced by a 135mm portrait lens at f-2.8, gives a sense of spatial distance and depth.
Our model gains strength in the portrait from the anchor of the tree, camera left.
The horizontal composition, placing our model in the left third of the frame.
The back light, simulating filtered sunlight, adds dimension and separates the subject from the background.
The main light, in this case being sunlight through the filter of light clouds, produced a soft butterfly lighting pattern. Then with a blend of reflected light from the silver reflector, to brightening the subject's eyes as well as adding luminescence to the shadows, and producing a softly lit and visually compelling portrait.
Reflector and Soft Box with CTO Gel accent the lighting for the above portrait
While very pleasing, the difficulty with the above lighting is twofold:
The main light being a delicate balance between the lightly filtered sunlight, direct sun or overcast sky, is not a dependable light source and its delicate balance doesn't last with the ever changing movement of the clouds.
There is no way to control the brightness value of the background, without affecting the overall exposure.
From our initial experiment with available light, we are now ready to take control of all of the lighting elements and create a true Cinematic Portrait, which was our goal on the onset of this workshop.


The above pull-back photos show the lighting positions for the following themed Cinematic Portraits below. (click to enlarge)
Lighting ingredients for the Cinematic Portrait
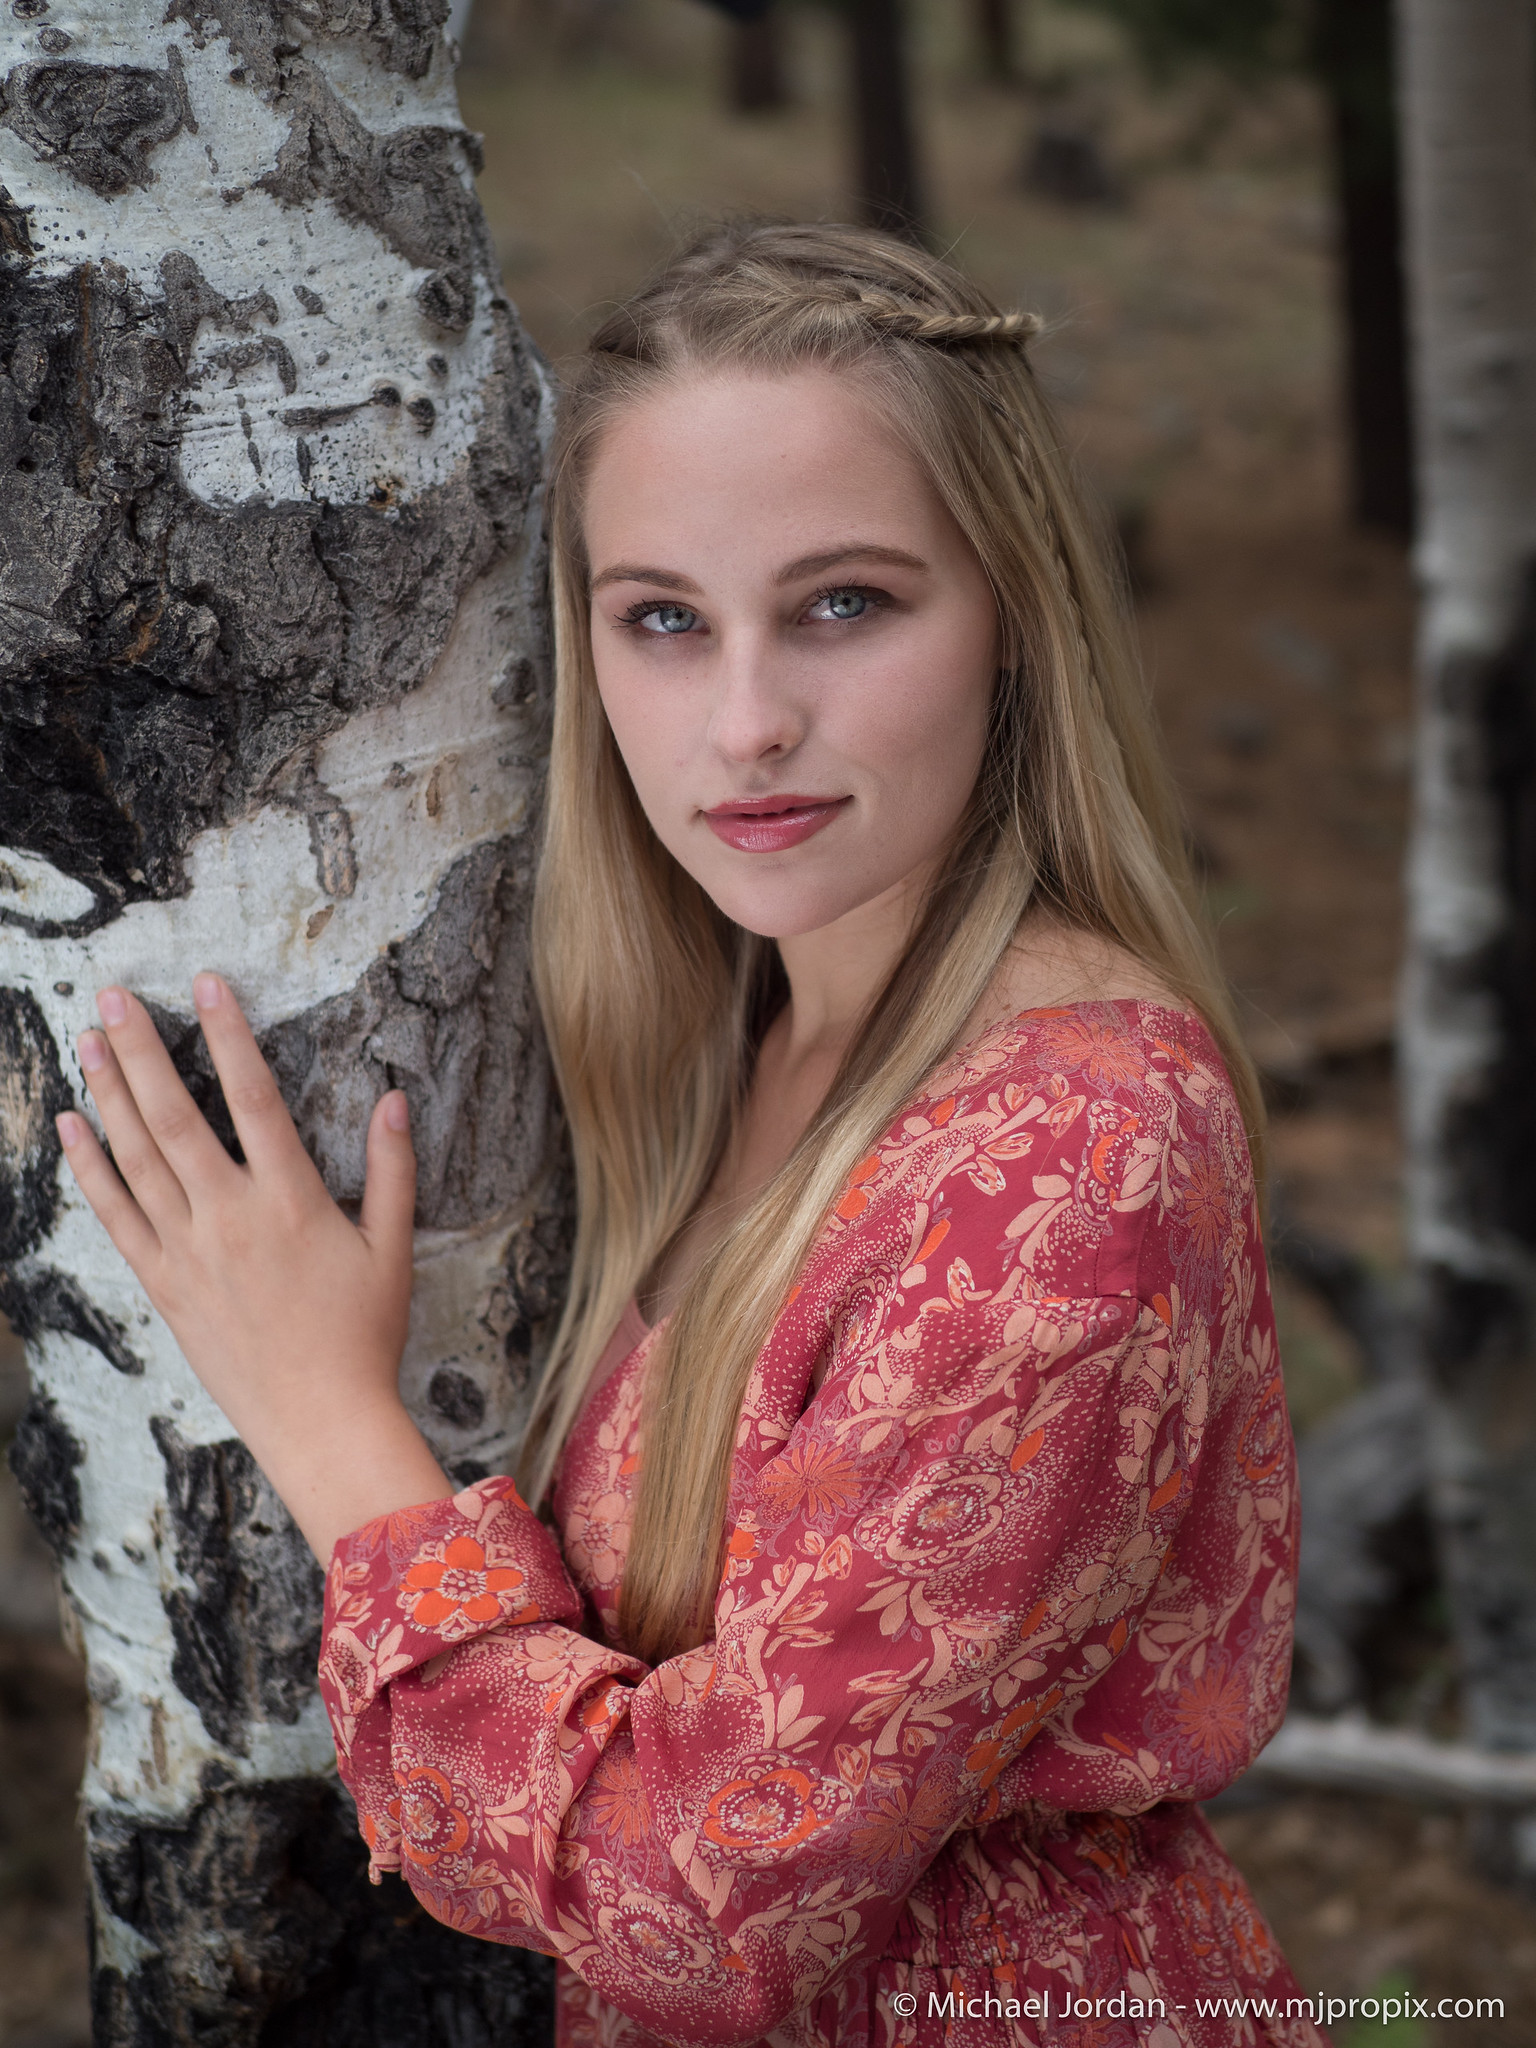
Camera settings: ISO 100, 135mm f-1.8 lens at f-7.1, shutter 1/200th second
As seen in the photograph above, the main light is positioned at 2 o'clock in the vertical arc, and 5 o'clock in the horizontal arc, as described in the diagrams and pull-back photos.
This position of the main light provides a soft natural illumination of Lauren's face, contouring shadows and a beautiful catch-light in her eyes. Note that Lauren is turning her face towards the main light and the camera is looking into the shadow side of the mask of her face. This perspective is termed "short lighting" and creates strong visual interest, as the light across Lauren's face alternates from highlight to shadow to highlight to shadow.
The main light for our portrait is a Cheetah Light brand Godox AD-200X fitted onto a Profoto 2' Octa-box, via a special adapter, which I have designed.
The 2nd light, fitted with a 1/2 CTO gel, at camera left and behind the tree, illuminates Lauren's hair and shoulder as if it were mimicking filtered afternoon sunlight. The hair light is a Godox V850 speed light, also fitted onto a Profoto light modifier, the 1’x 3’ OCF strip box.
The third light, at camera position, has the role of fill light and gently lifts the light value of the shadows that the position of the main light projects onto the contours of the face. The fill light is also a Godox V850, in this case projecting into a soft white 36” Photoflex umbrella with black cover.
If you would like to experience these Lighting Workshops for yourself, I would like to invite you to join our Meetup Group, and we will hopefully see you at the next Lighting Workshop: https://www.meetup.com/Photographic-Lighting-Workshops/
Thank you for reading and I truly hope that this information is helpful to you. I have also written a book on Off-Camera Flash, "Creative OCF Lighting Techniques for Photographers," linked here if you would like more information.
Sincerely, David Lloyd, CPP

In a setting of pine trees and Aspens, we explore creating a cinematic portrait using three off-camera flashes. All details of the video will be found in my blog post. Thank you for watching.